Using MapKit
To use MapKit, insert it into Roblox Studio, make your changes, and upload the model to Roblox as a free model. Copy the model's id and paste it into Blast Zone's map loader.
Step-by-step Guide🔗
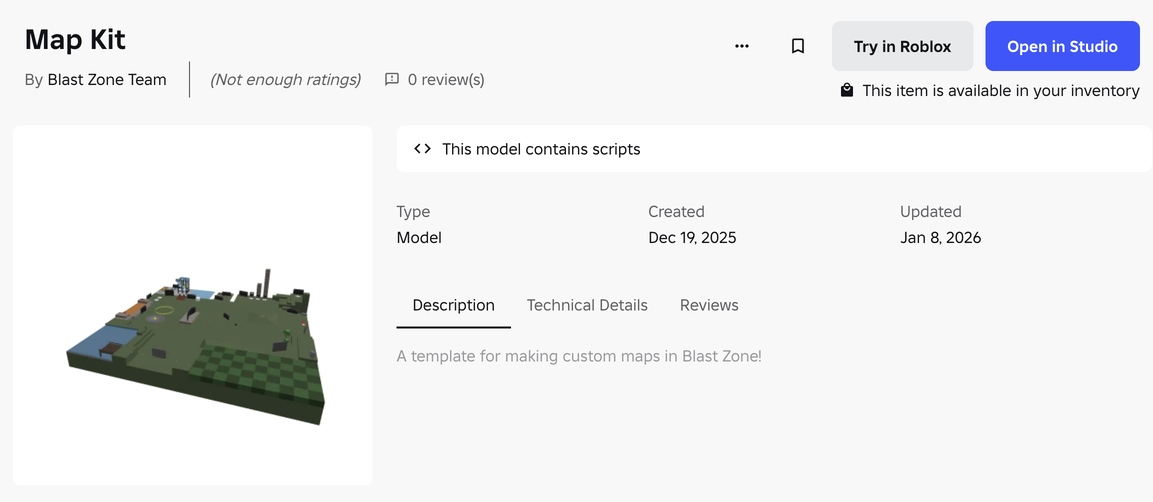
First, you will want to get the MapKit model on Roblox. Go to this link and add it to your inventory.
Load MapKit into Studio🔗
Then, you'll want to open Roblox Studio, open a new place, open the Toolbox, and insert the MapKit model into your game.
You'll see a new folder called MapCollection in the workspace.
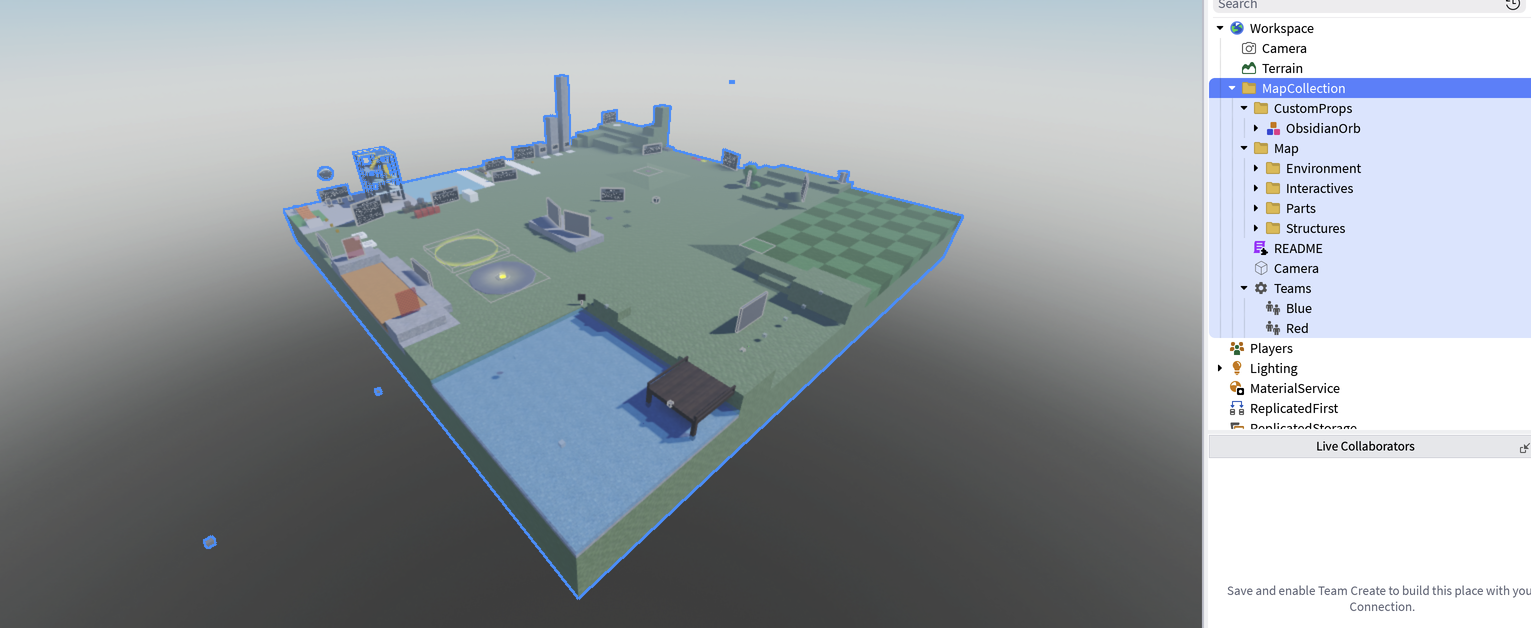
This template is pre-configured to be imported into Blast Zone without any extra work.
It's important not to change the names or parenting of any instances outside of the Map, CustomProps, and Teams folder, or else your map won't load.
Upload MapKit to Roblox🔗
To load your map into Blast Zone, you'll need to upload it to Roblox as a free model.
To do this, right click on MapCollection, then on the dropdown buttons "Save/Export" > "Save to Roblox".

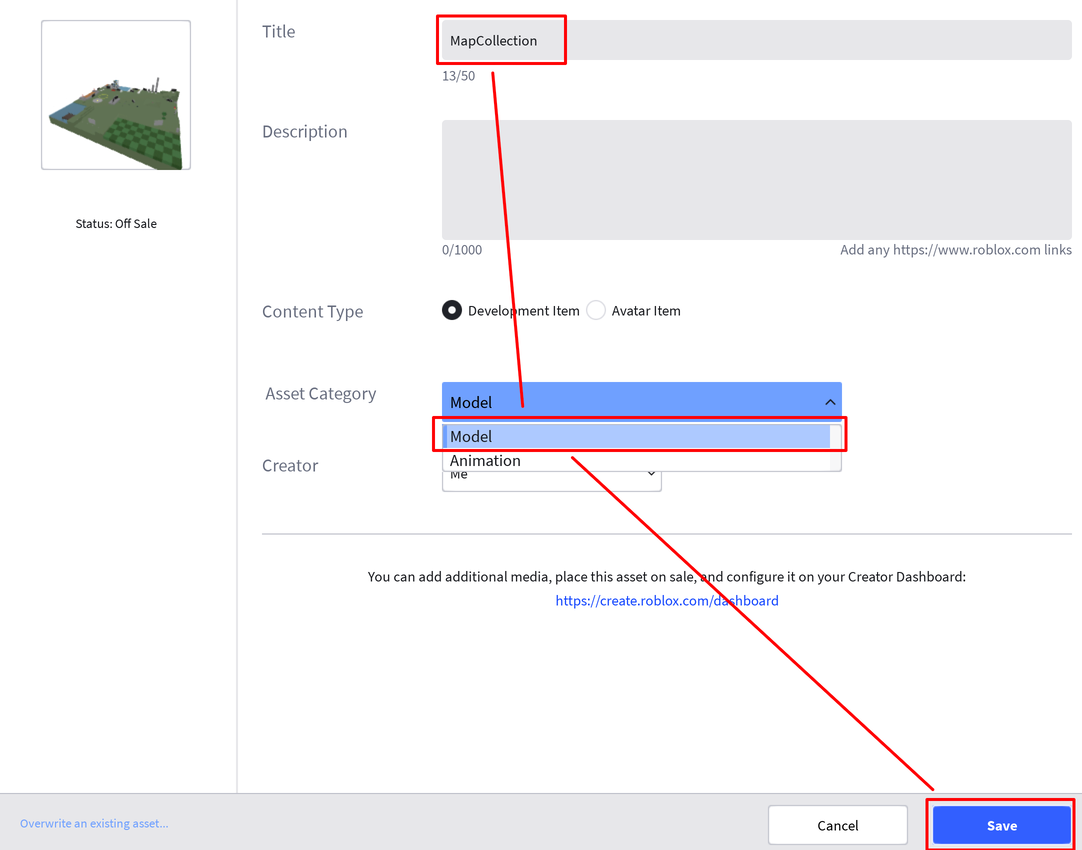
Roblox Studio will open a new window called "Asset Configuration". Make sure you set "Asset Category" to "Model" then click on the blue "Save" button.
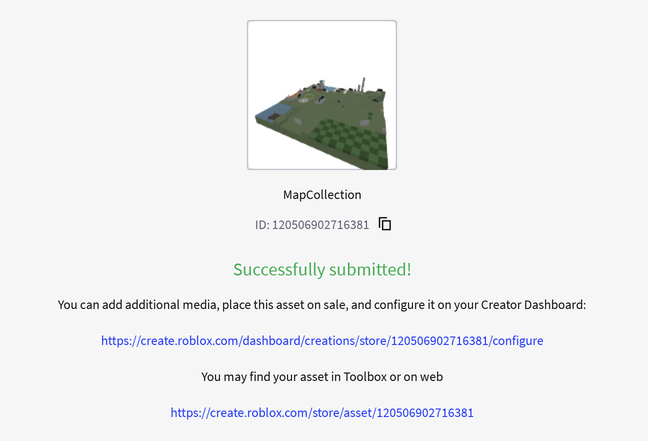
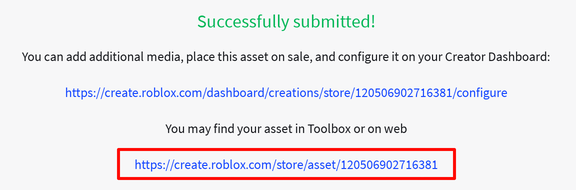
After a few moments, your new map will be uploaded to Roblox. It will give you two links and a long number, the model's id. Copy this id, we will use it to import the map into Blast Zone.
Make Your Map Public🔗
To import your map into Blast Zone, you'll need to make your model a free asset that anybody can use. This means other players will be able to open it in Studio and edit it, but more importantly, it means that Blast Zone will be able to import it. Skipping this step will prevent Blast Zone from being able to import your map.
- First, click on the link below "You map find your asset in Toolbox or on web"
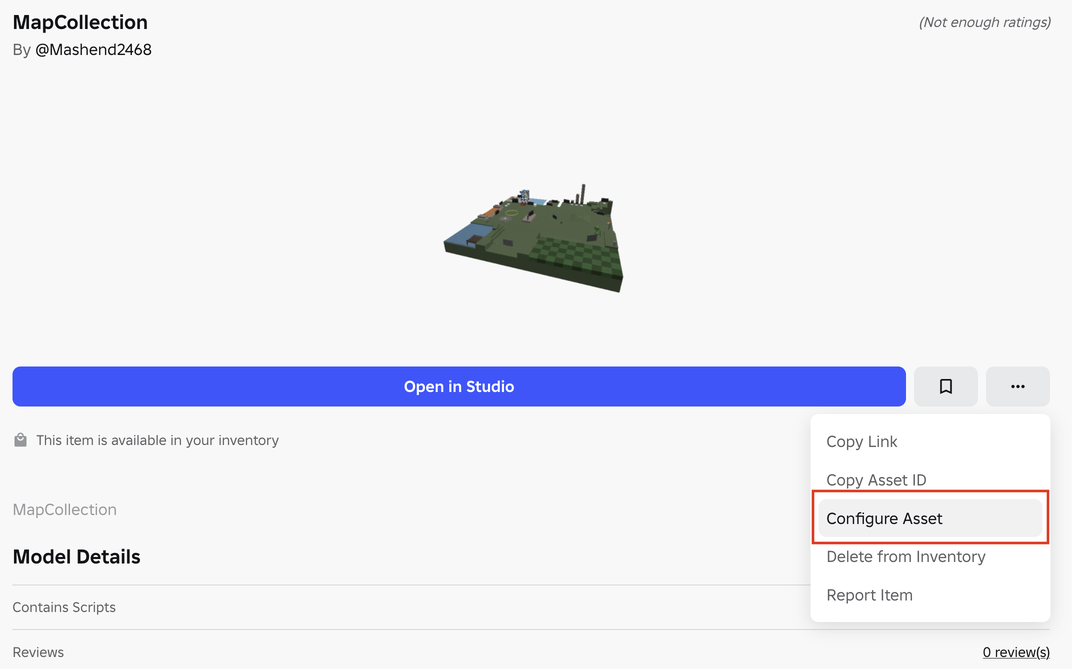
- Then, click on the button with the three dots and click on "Configure Asset"
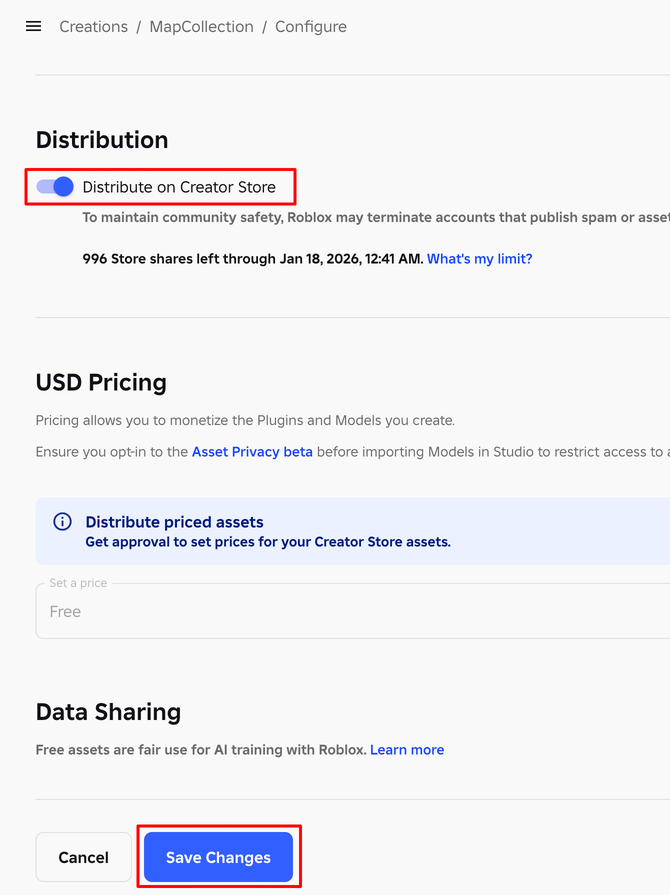
- Scroll down, and click on the toggle switch next to "Distribute on Creator Store". This will make your model public.
- Scroll to the bottom of the page and click on the blue button that says "Save Changes". Your model will now be public
Before Importing🔗
Before you can import your map, make sure that you meet all the prerequisites or else you won't have the "Load map from asset id" button.
Import Your Map🔗
Join a private server you own, open the "Cheats" menu on the main menu, scroll down to the bottom, and click the "Load" button next to "Load map from asset id". You will be greeted with a special prompt to paste in your map's model id. Paste the number you saved from earlier, and click "Load".

If you did everything right, your map will load into the game.
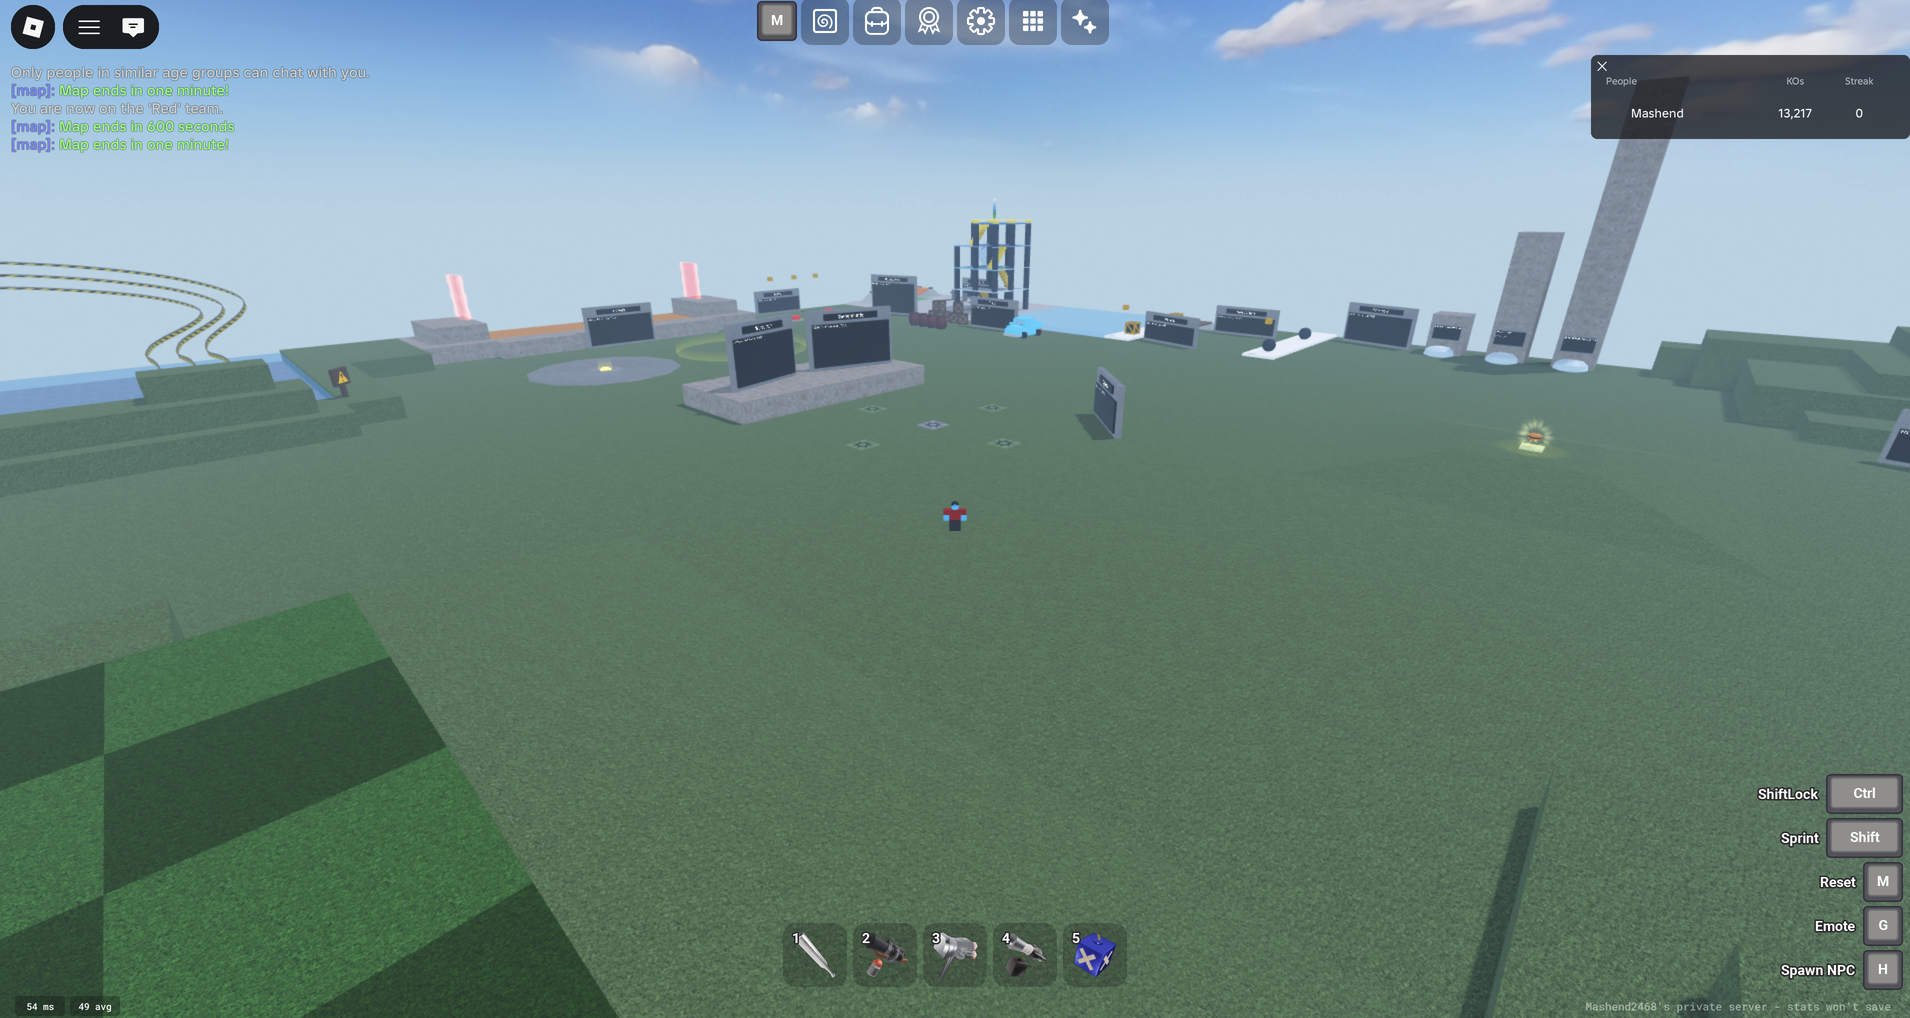
Congratulations! You have successfully imported your first map.